SQ08-SQ40 Mechanical Installation Manual
- Remove the screws down both sides of the Discharge box Side Panels. Loosen the eight screws used to secure the front and rear of the Side Panels.
- Remove the Rear Access Cover. Rotate the Chain so that one Paddle assembly is at the nine o’clock position. Remove this Paddle assembly and the one just coming off the Trough Bottom Panel. You will need a minimum of 6'' [15.2 cm] clearance below the Side Panels to pivot the Extension into position.
- Using flat-blade screwdrivers or similar tools, pry apart the Discharge box and the Side Panels so that there is a gap of at least 1/16'' [.6 mm].
- Place the Extension, tab end down, into the Discharge box. Pivot the Extension under the tail shaft and back into the trough area.
- Rotate the Extension into position, making sure that the tabs on the ends of the Extension go between the third and fourth screws down the side of the Side Panels. The large corner notches must point away from the Dryer basket.
- Reinstall the Discharge Side Panel screws previously removed, leaving the bolts loose. Again, make sure the tab on the near end of the Extension goes between the third and fourth screws.
- By moving the Extension Panel front to back, a variable gap is opened between 0'' to 1.5'' [0 - 3.8 cm]. Different grains may require different gap settings. Adjust the Extension position either through the Rear Access cover, or use a screwdriver in the gap between the Discharge box flanges.
- Once the Extension Panel is positioned, retighten all the screws.
1
2
3
4
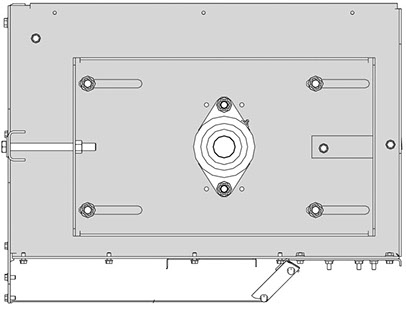
Extension Panel Position

Copyright © 2014-2016 CTB, Inc. All rights reserved BL0815